Warrior Costume Updates!
For those of you who have been seeing my updates on Twitter for about the past two weeks, you will have seen my current craft project which is a costume for an upcoming photoshoot.

This project has come about from being very bored and my previous photoshoot reigniting my love for modelling and coordinating shoots. It is also stemmed from my partner watching Netflix’s “The Last Kingdom” and my love of all things historical (loosely inspired by, very, very loosely)
My overall idea for the shoot and costume was warrior, with a shield and armour and some form of big weapon. I am a simple soul.
First off, I started with the chest plate. Now, I’ve tried to make armour from EVA foam before and it was NOT successful (if you're based in the UK and looking for a foam supplier, I highly recommend https://www.poly-props.com/ Their prices are really good and the guys who run the company are lovely and doing a lot to help during the pandemic)

Because I know how bad I am, I decided to use a premade pattern. Putting together patterns is second nature to me as a fashion designer! I decided on a chest plate design from Kamui Cosplay which was only about £4.50/$4.99 for several variations and is available here https://www.kamuicosplay.com/product/femalebreastplates/ I liked this pattern because the template I used from it covers everything but still keeps a feminine silhouette.

I don't have a cutting mat and scalpel so I used my carpet shears (really sharp long blade scissors) to cut the foam in long singular movements to avoid any jagged edges. After watching some tutorials on YouTube from Kamui, I found a good brand contact adhesive that didn’t smell too much and was easy to work with. It wasn’t until I was nearly finished sticking the plate pieces together I found that allowing the adhesive to dry a little before sticking them together was much easier and meant I didn't have to sit as long holding them in place.

Now, this being my first time properly making something in foam in several pieces, my armour was not neat. The pieces didn’t quite match up and I got a bit stressed and stupidly cut a piece off thinking it was about an inch too long before realising I’d actually stuck the piece on the wrong way. This is why we pair seams! Which I did… But I have an incredibly short attention span so I screw up a lot.

I reinforced the seams with extra glue just to be on the safe side and also for the satisfaction of picking dried glue off my fingertips, because hey, using a brush to apply glue is much too tidy!

Now, I don't have a heat gun so I had to use a hairdryer to heat seal my foam and shape it to my mannequin which took a little longer and I don’t think sealed it completely but it was sufficient. I would definitely recommend a heat gun though as the foam needs to sufficiently shrink and the coating on it needs to melt to help it go a bit harder. I also sealed the armour with three layers of watered down PVA/school glue. I used my hairdryer to dry the glue layers but I think because my foam wasn't sealed properly, it caused the glue to bubble a little between layers and I couldn't sand it properly to get a smooth finish.

I prepped the armour with two layers of paint primer which really helped to even out the joins between the pieces and also hardened the pieces a lot. The armour did look quite cool pure white and gave me a need to remake the armour in white for an angel styling, but that’s for another shoot!

I’ve always known I wanted a blue and bronze/gold colour scheme to this set but I wasn’t sure what base colour to paint the chest plate. Thanks to a Twitter vote, I settled on bronze. I used a metallic bronze acrylic paint I got from the craft section of my local general store. It took three layers on the outside of the plate to completely cover it and I dried the layers with my hairdryer again because I’m impatient. I did apply two layers of paint on the inside of the plates which hasn’t covered the white primer completely but is enough so that if the inside does show on photos, it will be the same colour at least!

To finish off the painting, I covered the outside in a layer of clear yacht varnish. I should have done two or three layers but they take about eight hours to dry. Unfortunately, where the armour has been moved around for storage, there is a little chip on one piece which I’ll be able to clone out in post-production.
Whilst I was waiting for the filigree pieces and watch straps to connect the sides and shoulders of the armour pieces to arrive from China, I set to work on the skirt and shield.
The skirt involved some maths. I only had five meters of blue polycotton to make the skirt and cloak with and also line the shield with. I knew the shield was going to take about a meter so I had two pieces of two meters for the skirt and cloak.

To make the skirt, I measured my waist for the waistband, then about 13cm down from that for the circumference of the skirt band. The waistband measured about 95cm wide with a generous seam allowance (as I wanted to add eyelets to fasten the skirt with) and 13cm long. I cut one piece of material in this measurement against the bias (grain) of the fabric so it doesn’t have any stretch. This is the bit that will sit against my skin. I then cut two pieces on the bias and joined them together along the long seam and gathered and sewed them to the single piece along one long seam and the two side seams. To reinforce the side seams where the eyelets are inserted, I put a piece of Petersham ribbon into the seam. This also stops the waistband from buckling when I bend.
My maths for the skirt cocked up a bit and although I remembered to include seam allowance on each panel which is something I usually forget, I divided the top hem by ten and the bottom by nine, so the skirt ended up being slightly gathered to the waistband but it worked by adding in another panel so I can't really complain!

Now the most exciting part of this project, without a doubt, the shield.

Again, my research started with watching YouTube tutorials and reading a lot of articles on excavated Viking shields. I found what sort of wood was used, how thick the wood was, how the handles were constructed, evidence for shields being coated and wrapped in leather or some other organic material. Now, I don't have the budget for strips of pine wood, and I don't have the tools to get a large board of pine to cut into strips as shields were constructed from planks of wood.

Excavated shields that have been found measure about 10mm thick which tapers to about 6mm at the edges. Again I don't have a good enough sander to get mine down to that so I left it at a thickness of 10mm all over. My shield is also cut from one sheet of hardwood and has a diameter of 80cm which is based on pieces excavated at sites like Trelleborg, Sweden.
I cut out a hole just bigger than my fist with the handle in it for the boss to go over. The handle was sanded within an inch of its life to ensure I don’t get any splinters. I glued it with No More Nails and let it dry overnight before using nails to hold it in place because despite what No More Nails claims, I don’t trust it.

I spent way too long playing around with the shield in my garden after I’d sanded it all down. It’s really lightweight but still has a good weight to it. I certainly wouldn’t want to drop it on my toes or smack someone around the head with it. We’ll see how it holds up against a weapon soon!
I covered the wood in more PVA/school glue and spread it over the whole face and edges of the shield before carefully draping the meter of material I’d dedicated to the shield over it and flattened out any creases. I did try to use a paint roller to make sure the material was on properly but didn’t realise the roller was wet for some reason and it put a little sheen of white emulsion over half the shield. Great.

For the boss (the metal centrepiece of the shield), my original idea was to hammer a metal dog bowl out so the bottom was rounded. But I’m lazy and both my next-door neighbour and I have newborn babies and I didn’t want to be a pain and be hammering for hours on end. So I popped down to the general store again and found a round bottom fruit bowl which was made of softwood and 18cm which was conveniently just bigger in diameter than my hand hole. I soaked it in boiling water for a few hours to try and push the bottom out a bit more to get a really rounded boss which unfortunately didn’t work and ended up cracking the bowl but I think it adds a little bit of character to the boss and makes it look battle weathered! (I’m really trying to echo Entrapta from She-Ra and the Princesses of Power when she says “imperfection is beautiful”)
I used the same primer I used on my armour to prime the boss and painted it with the metallic acrylic bronze. To attach it, I drilled five holes just big enough for the bronze nails I got to fit into and nailed the boss over the hole.

My original plan for the edge of the shield was boiled rawhide but that wasn’t all that aesthetically pleasing for me. My filigree order finally turned up and I tried folding some to fit the edges of the shield and it looked really pretty so I went with it, to the vexation of all self-appointed history buffs. However, to them, I say, in the Saga of Grettir the Strong, it is referenced that a berserker went into battle with an iron-rimmed shield… My rim is made of copper and bronze alloy and again, I don’t have the tools or budget to work with steel. There was also evidence of engraved and punched clamps found in a grave in Birka, Sweden and the number of clamps found implies that they were butted together to create a continual rim around the shield. Now, off my soapbox!


With the arrival of the filigree, I finished the chest plate off. I had no real pre-thought plan for how I was going to pattern the filigree so I freehanded it and placed bits before glueing them on. I wish I had ordered more filigree so I could absolutely cover the front and back of the chest plate but I am not patient enough to wait two more weeks for more to turn up… And I’ve already spent more on this than I should have so, I’ll leave it at that.

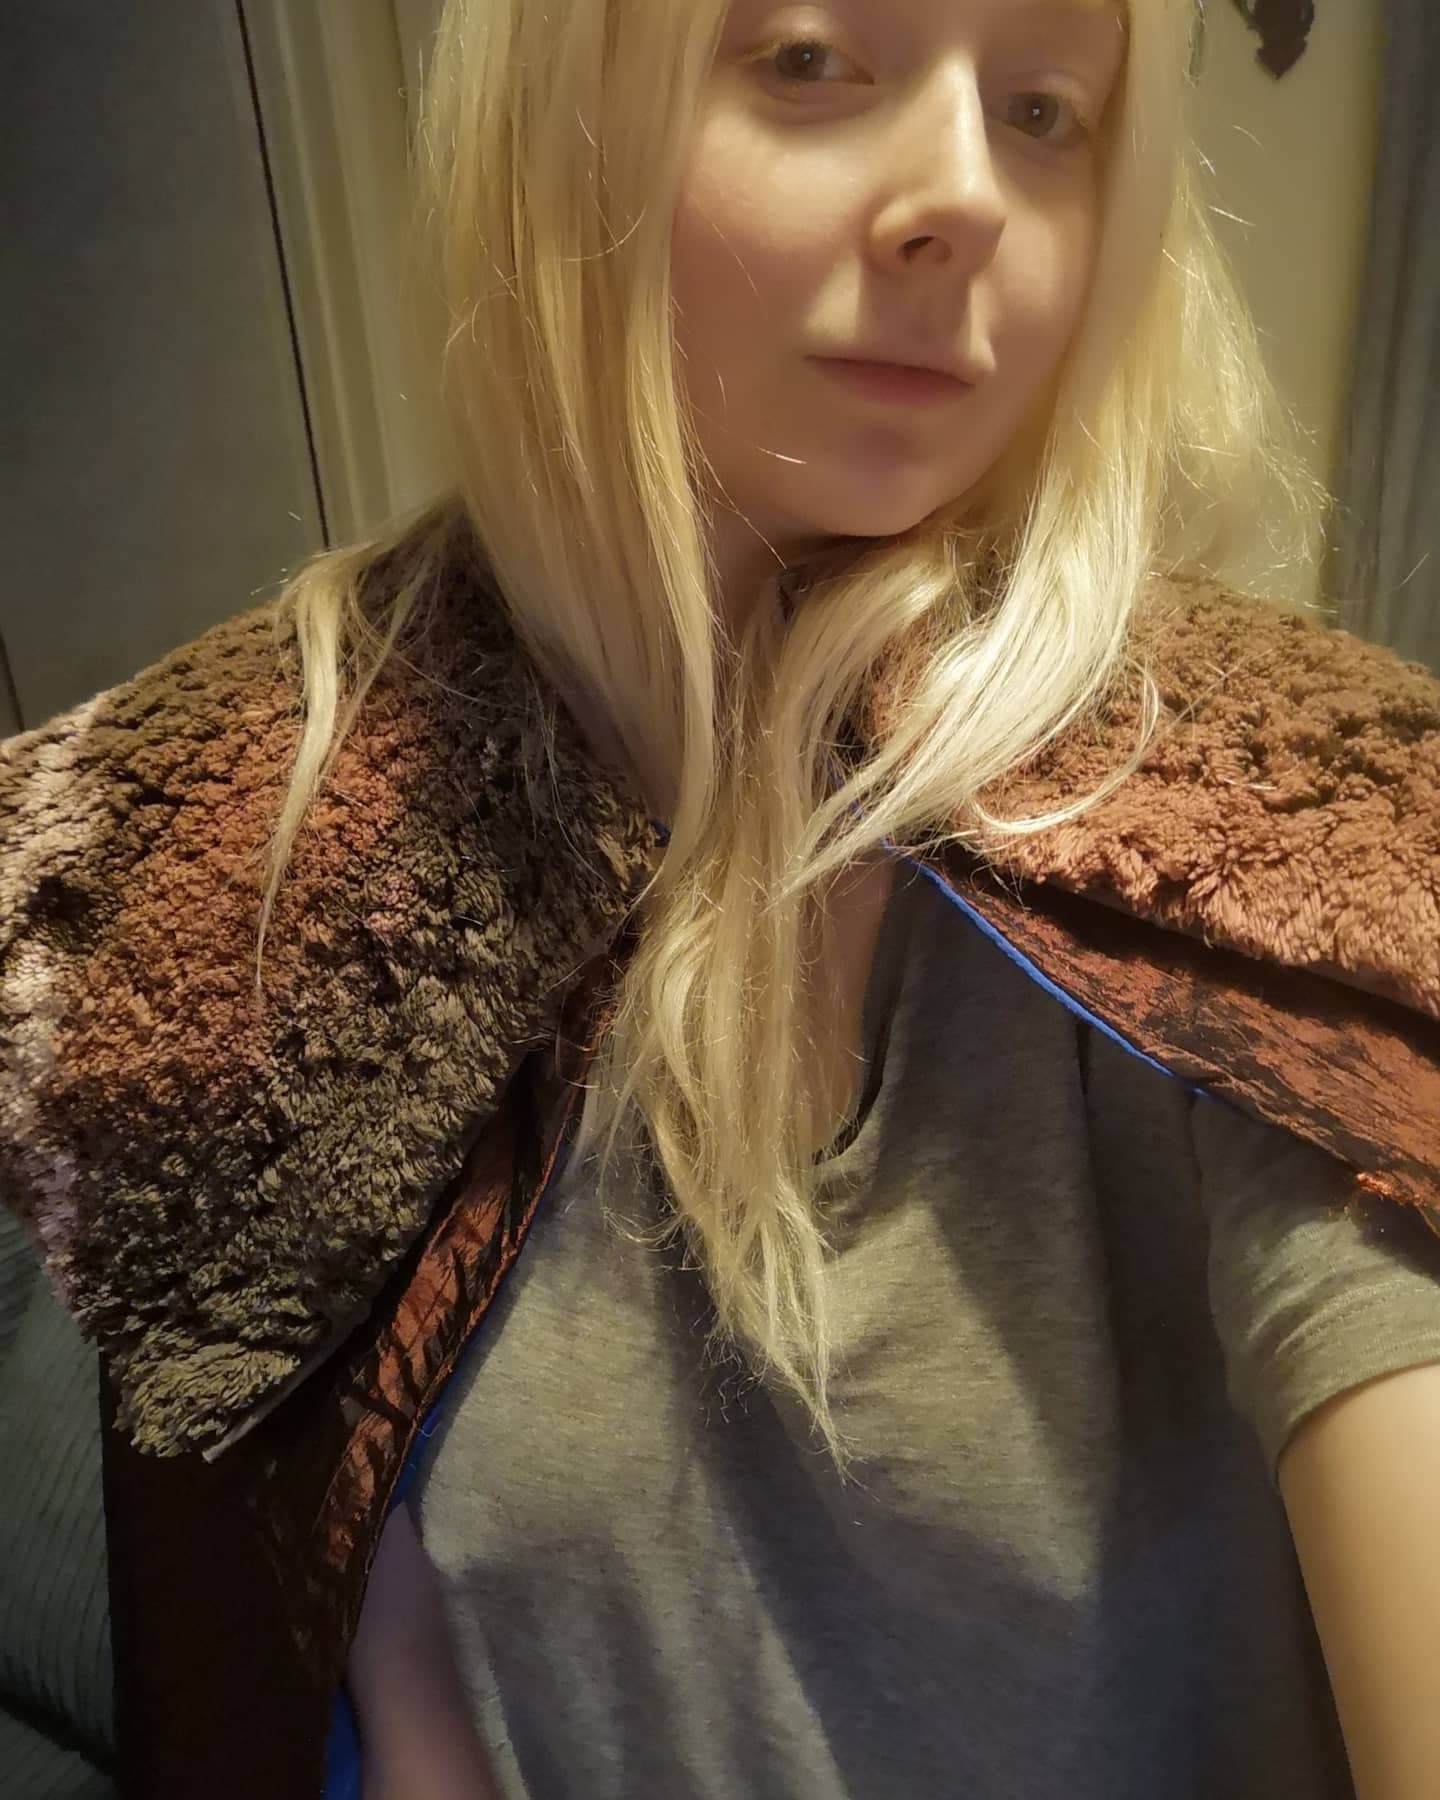
Last but not least, the cloak! I folded the remaining polycotton in half and used a very high tech pin, piece of string and pen to draw a semi-circle and repeated this on the bronze taffeta and on a smaller scale on the bath mat I’m using as a substitute fur since synthetic long pile fur looks awful.

As a note, I had prepped the bath mat by combing it out and distressing it with a de-matting brush I use on my dog. I also soaked a sponge with some watered down bleach and brushed it over the mat since it’s 100% cotton and then threw a few streaks of neat bleach over the mat to get some different colour tones like real fur - I’m thinking bear at this point.
I sewed the straight edges of the cloak together and then sewed the bottom rounded hem with some Petersham as I did the waistband of the skirt to help the cloak sit better at the bottom. I then turned it inside out (well, right side out) and hand-stitched the fur collar to the cloak and the fur hides the raw edges of the cloak seam.
I am now just waiting on the leather watch straps I’ve ordered to put on the sides and shoulders of the chest plate to hold them together and I need to find a cheap leather belt to cut up and repurpose for the cloak.
I was reluctant to use a sword for this shoot as swords weren’t as widely available as TV leads us to think and a spear would be more accurate. From a posing aspect, swords can look unnatural as you have to position the flat of them towards your light source so they don’t look like a weird black triangle in your shot. However, after a visit to Sherwood Forest the other day with the family, I accidentally acquired a pretty decent looking sword which I’m happy to use for this shoot.

Overall, I am ridiculously happy with how this entire outfit has come out and how well it all works together. I’ve learned some great new skills (including how to adjust the timing on a sewing machine but that’s another story) I’m really excited to shoot this set which I am hoping to do within the next two weeks so please keep an eye out for the photos as they are released!
I am hoping to make photoshoots a regular thing again and already have an idea for the next one but am trying to focus on this one first!!
If you like fluffy Malamut type dogs too, you’re going to love this shoot as I'm hopefully going to have two as my co-models for this shoot!


Comments
Post a Comment